Your Aadhaar card is more than just a piece of identification; it’s a crucial document for availing various services and benefits in India. But what if your photo on the Aadhaar card no longer reflects your current appearance? Whether you’ve changed your look, experienced a significant change in your appearance, or simply want a clearer photo, updating your Aadhaar card photo is straightforward.
In this guide, we’ll walk you through the steps on how to change the photo in your Aadhaar card. From online procedures to visiting an Aadhaar centre, you’ll find all the information you need to ensure your Aadhaar card accurately represents you.
Things to Know Before You Change Photo in Aadhaar
- Online Changes Not Available: You cannot change your Aadhaar photo online. A visit to an Aadhaar Enrolment/Correction Centre or Aadhaar Sewa Kendra is required.
- Processing Fee: A processing fee of ₹100 must be paid at the centre.
- Document Requirements: No additional documents are needed for the photo update; your existing Aadhaar card will suffice.
- Update Timeline: The updated photo may take up to 30 days to appear on your Aadhaar card
How to Change Photo on Aadhaar Card?
Step 1: Find your nearest Aadhaar Enrolment/Correction Centre or Aadhaar Sewa Kendra. Use the official Aadhaar website to locate one.
Step 2: Go to the chosen centre. Ensure you carry your current Aadhaar card with you.
Step 3: Pay the processing fee of ₹100 at the centre. The fee can be paid in cash or as directed by the centre.
Step 4: Undergo a fingerprint or iris scan to verify your identity.
Step 5: Hand over your existing Aadhaar card to the centre staff. No additional documents are required for this update.
Step 6: The centre staff will take your new photograph. Ensure the photo is clear and meets Aadhaar guidelines.
Step 7: Check your details on the verification screen to ensure accuracy. Confirm the update request.
Step 8: Receive an acknowledgment slip with an Update Request Number (URN). Keep this slip for tracking the status of your update.
Step 9: Wait for the update process to be completed. It may take up to 30 days. Track your Aadhaar update status using your URN on the UIDAI website.
Step 10: Once processed, your updated Aadhaar card will be sent to your registered address. Ensure your address is current to receive it without issues.
Why Change Your Aadhaar Card Photo?
There are several reasons why you might want to change photo in Aadhaar:
Poor Quality Photo: If the existing photo is blurry, dark, or has improper framing, a fresh picture improves clarity and verification.
Incorrect Photo: In rare cases, if a wrong photo was captured during enrollment, getting it corrected becomes crucial.
Outdated Photo: If your current photo doesn’t resemble you anymore (due to significant weight loss/gain, facial changes, etc.), updating it ensures accurate identification.
How to Download the Updated Aadhaar Card Online?
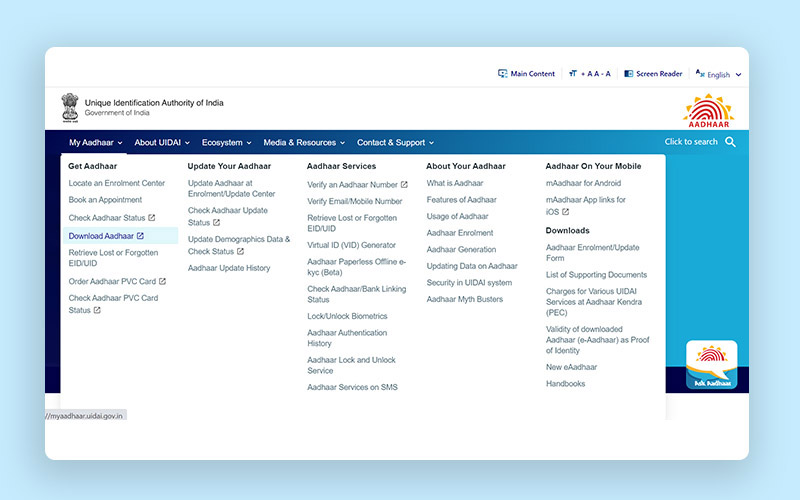
Step 1: Visit the official website of UIDAI

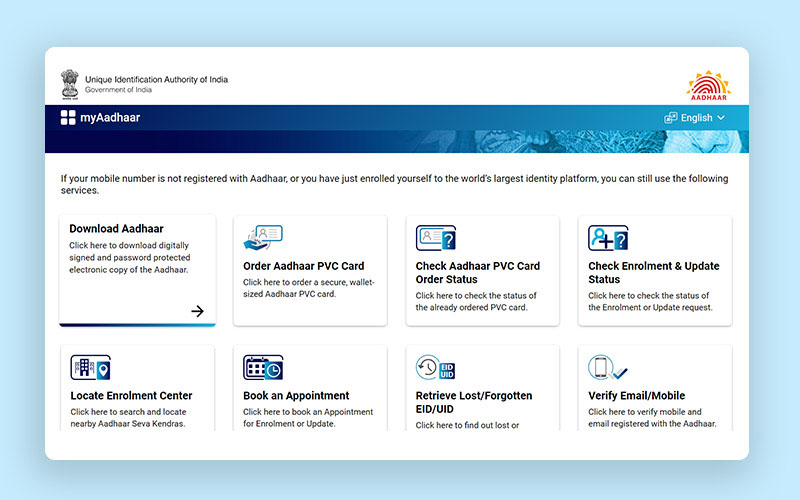
Step 2: Navigate to the ‘My Aadhaar’ section and click on ‘Download Aadhaar.’

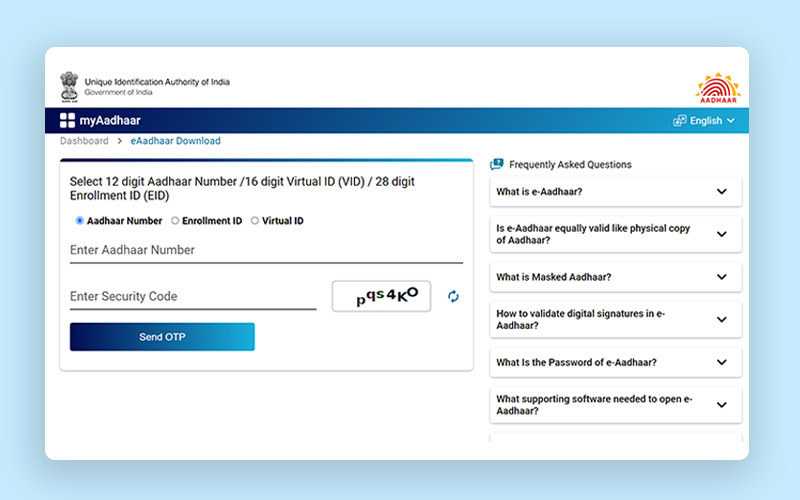
Step 3: Enter your Aadhaar number, enrolment number, or virtual ID, along with the security code. Then click on ‘Send OTP.’
Step 4: An OTP will be sent to your registered mobile number. Enter the OTP on the website.
Step 5: Complete the ‘Take a Quick Survey’ and click on ‘Verify and Download’ to access the e-Aadhaar card online.

Read More: Guide to Download Aadhaar Card Online
Disclaimer: The purpose of this blog is to simplify complex processes for readers’ understanding. Please note that some information and screenshots provided may become outdated or change over time. However, we strive to keep our blogs updated and relevant to provide accurate and helpful information.


