

Forgetting the exact steps to set up a new digital payment service can leave you feeling frustrated. This confusion often leads to delays, or even missing out on the convenience that modern financial tools offer. It’s a common hurdle when adopting new technology.
This guide clarifies the distinct processes for setting up UPI Lite for the very first time versus reactivating an existing service. You’ll learn the specific steps for each, helping you ensure smooth, secure, and quick transactions every time.
Table of Contents
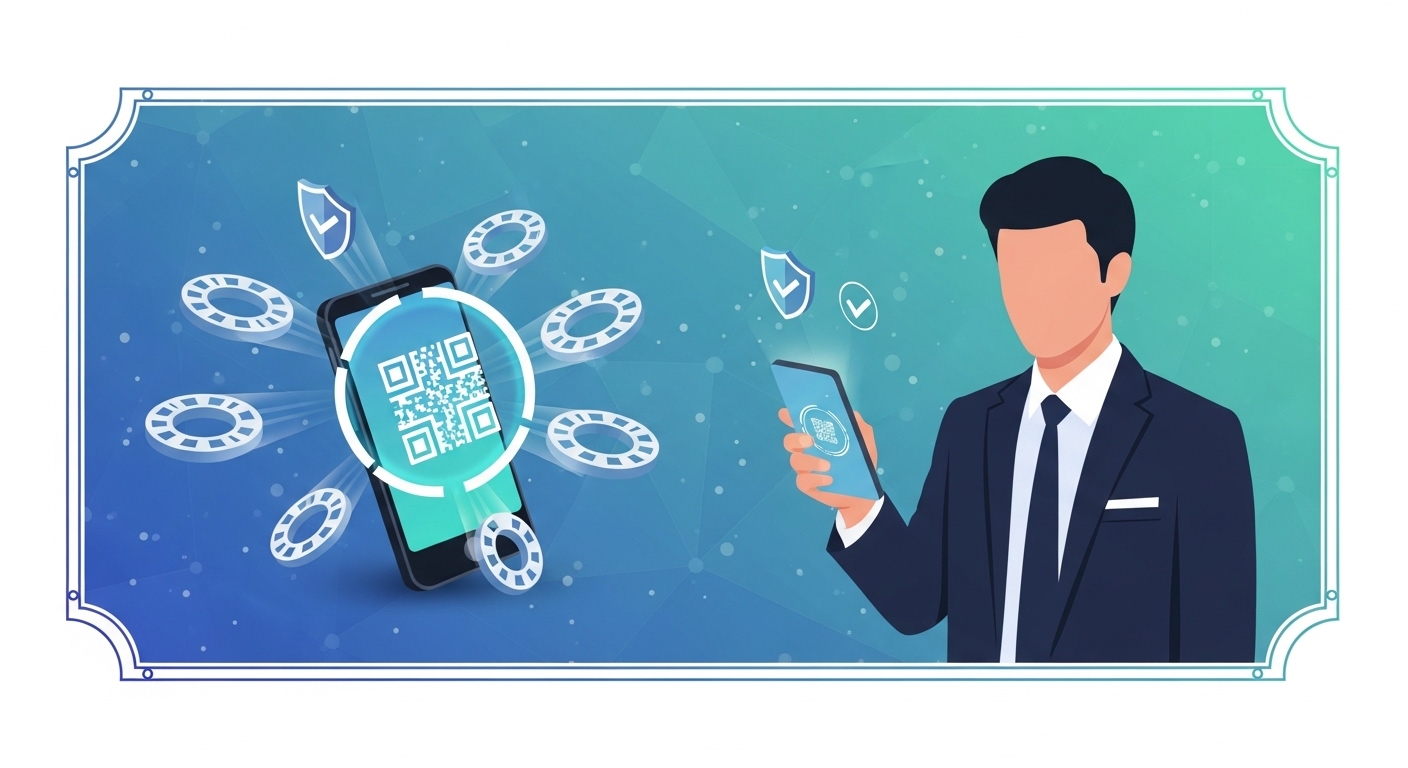
What Is UPI Lite?
UPI Lite is an on-device wallet feature for small-value transactions, overseen by the National Payments Corporation of India (NPCI) as part of the Unified Payments Interface. It allows you to load a small amount of money from your bank account into a digital wallet within your UPI app, enabling instant, PIN-free payments for everyday purchases. A
s per official NPCI guidelines (2026), the maximum balance allowed in your UPI Lite wallet at any given time is as per the latest official guidelines, and you can make transactions up to as per the latest official guidelines per payment, with a total daily limit of as per the latest official guidelines. If you don’t activate or reactivate your UPI Lite wallet, you won’t be able to use this convenient feature for quick, small payments, meaning you’ll still need to enter your UPI PIN for every transaction, potentially slowing you down. T
o manage your UPI Lite wallet, access it directly through your preferred UPI-enabled banking or third-party payment application’s home screen.
UPI Lite presents a streamlined way to handle your everyday small payments, making digital transactions even quicker. It operates directly within your existing UPI application, but with a crucial difference: it doesn’t require a UPI PIN for each transaction. This innovation speeds up your checkout experience significantly.
This feature is designed for convenience, especially for micro-transactions like buying groceries, paying for transport, or getting a quick snack. It helps reduce the load on the banking system for frequent, low-value payments. You’re effectively using an on-device wallet that’s pre-loaded with funds from your bank.
Fast, small payments
Imagine making payments without the slight pause of entering your PIN every single time. That’s the core benefit of UPI Lite. It’s built for those quick, spontaneous purchases where speed and simplicity are most valued.
This system ensures that your small transactions are processed almost instantly, without needing to connect to your bank’s core banking system for every single debit. It means fewer failed transactions due to network issues during peak times. You get to enjoy a smoother payment flow.
Pro Tip: Speed Up Your Daily Payments
Use UPI Lite for purchases under as per the latest official guidelines to skip PIN entry and complete transactions in seconds. It’s ideal for tea, snacks, or small grocery bills.
How it works
UPI Lite works by creating a virtual wallet on your mobile device, which is linked to your primary bank account. You transfer money from your bank account to this on-device wallet, and these funds are then debited directly from the Lite balance when you make a payment. This process is secure because the wallet is tied to your UPI app.
When you make a payment using UPI Lite, the transaction is processed offline on your device and then settled with the bank in batches. This batch processing is what allows for the PIN-free experience. Your bank account is only touched when you load funds into the UPI Lite wallet, not with every small payment.
- Load Funds: Transfer money from your bank account to your UPI Lite wallet within your app.
- Pay Instantly: Make payments up to as per the latest official guidelines without entering your UPI PIN.
- Track Spending: View your UPI Lite transaction history directly in your app.
- Recharge: Reload your wallet when the balance gets low, up to the as per the latest official guidelines limit.
Setting Up UPI Lite for the First Time
Starting with UPI Lite is a straightforward process, designed to get you making quick payments swiftly. You’ll activate this feature within your preferred UPI-enabled application, integrating it with your existing digital payment habits. This initial setup ensures all necessary security protocols are in place.
The first-time setup involves a few key steps that link your bank account to the Lite wallet and establish your spending parameters. It’s a one-time activation that unlocks the convenience of PIN-free transactions for small amounts. You’re essentially creating a new digital pocket for your daily expenses.
Choosing your app
Your journey begins by selecting a UPI application that supports the Lite feature. Ensure your chosen app is updated to its latest version to access all features. You might already use this app for regular UPI payments, making activation familiar.
Common Confusion: It is commonly assumed that UPI Lite is a separate application you need to download.
UPI Lite is an integrated feature within your existing UPI-enabled banking or payment app; you don’t need a new download.
UPI Lite is an integrated feature within your existing UPI-enabled banking or payment app; you don’t need a new download.
Linking your account
Once in your app, find the UPI Lite option, usually on the home screen. Select the bank account you wish to link, verifying your identity through existing UPI registration. An SMS verification from your registered number confirms ownership and securely links the feature.
Setting your limit
Define how much money you want to load into your UPI Lite wallet, up to the as per the latest official guidelines NPCI maximum. This personal limit helps manage your spending effectively. The transfer from your bank requires your UPI PIN for security, then funds appear in your Lite balance.
First payment experience
Making your first UPI Lite payment is incredibly simple and quicker than a standard transaction. Scan a QR code or enter the merchant’s UPI ID as usual. The key difference is no PIN prompt for amounts under as per the latest official guidelines.
Step 1: Open your UPI app and select the ‘Scan & Pay’ or ‘Pay to UPI ID’ option.
Step 2: Enter the amount for your transaction, ensuring it’s as per the latest official guidelines or less.
Step 3: Select ‘UPI Lite’ as your payment method from the available options.
Step 4: Confirm the payment without entering a PIN, and you’ll see an instant success notification.
Reactivating Your UPI Lite Service
Reactivating your UPI Lite service is often necessary if you’ve changed devices, uninstalled and reinstalled your app, or if the service was temporarily disabled. It’s a process designed to ensure continued security and seamless access to your digital wallet. You’re essentially re-establishing the link to your on-device funds.
This process is generally quicker than a first-time setup because your underlying bank account and UPI registration are already in place. The system primarily focuses on re-authenticating your device and restoring access to your Lite balance. You won’t be starting completely from scratch.
Why reactivation happens
Reactivation is often needed if you’ve changed devices, reinstalled your app, or if the service was temporarily disabled. The Lite wallet is device-specific, so upgrading phones or uninstalling the app removes its data. Sometimes, for security or inactivity, your bank might temporarily disable the feature.
Pro Tip: Backup Your Apps
Before switching phones, note down your UPI IDs and bank account details. This makes reactivating UPI Lite and other financial apps much faster.
Logging into app
First, log back into your UPI-enabled application on your device using your registered mobile number. You might complete a mobile number verification via SMS. This confirms your current phone is associated with your UPI profile.
Verifying your details
Navigate to the UPI Lite section within your app after logging in. The system will likely recognise your previous UPI Lite association. You’ll be asked to re-verify details or confirm reactivation, selecting the same bank account used previously.
Restoring your funds
If you had funds in your Lite wallet before deactivation, they are typically returned to your linked bank account. You won’t lose your money. Upon reactivation, you’ll need to re-load funds from your bank into the now empty Lite wallet, requiring your UPI PIN for security.
- Device Change: Reactivate if you get a new phone, as UPI Lite is device-bound.
- App Reinstallation: After uninstalling and reinstalling your UPI app, reactivation is needed.
- Inactivity: Prolonged non-use might trigger a temporary deactivation for security.
- Account Recovery: If you reset your UPI PIN or recover your account, you might need to reactivate Lite.
Key Differences Between Setup and Reactivation
Understanding the distinctions between setting up UPI Lite for the first time and reactivating it is crucial for a smooth experience. While both processes lead to the same convenient payment method, the underlying steps and system checks vary significantly. You’ll find that reactivation leverages your existing data.
These differences are not arbitrary; they are designed to balance user convenience with robust security. Knowing what to expect in each scenario helps you navigate the process efficiently. You won’t encounter unexpected hurdles if you know the specific requirements.
New user journey
For a new user, the journey involves establishing your UPI identity and linking a bank account for the first time. This includes selecting a bank, verifying your mobile number, and setting up your UPI PIN. Your digital payment profile is built from the ground up.
Existing user steps
An existing user reactivating UPI Lite benefits from their established UPI profile. Your bank account is already linked, and your UPI PIN is set. The process focuses on re-establishing the device-specific Lite wallet, skipping initial bank selection.
Common Confusion: The misunderstanding here is that reactivation means you lose your previous transaction history.
Your UPI Lite transaction history is linked to your bank account and UPI ID, not solely the on-device wallet, so it’s generally preserved and accessible through your bank statements or main UPI app history.
Your UPI Lite transaction history is linked to your bank account and UPI ID, not solely the on-device wallet, so it’s generally preserved and accessible through your bank statements or main UPI app history.
Security checks
Initial setup involves comprehensive security checks to verify identity and link your bank account. These include SMS verification, bank account validation, and UPI PIN creation. Reactivation also involves checks, but they’re streamlined, primarily verifying your device and existing UPI registration.
Fund management
During first-time setup, you load funds directly into an empty UPI Lite wallet, with no pre-existing funds. In contrast, funds in your UPI Lite wallet before deactivation are typically returned to your linked bank account. You then re-load the desired amount into the now empty Lite wallet.
| Feature | First-Time Setup | Reactivation |
| UPI PIN Creation | Required | Not typically required (already set) |
| Bank Account Linkage | Initial setup | Confirmed, not re-established |
| SMS Verification | Mandatory for initial UPI | Often required for device re-authentication |
| Fund Restoration | Not applicable (wallet is new) | Funds returned to bank, then re-loaded |
Why Understanding These Differences Matters
Knowing the specific steps for both first-time setup and reactivation of UPI Lite saves you time and prevents frustration. It ensures you approach each scenario with the correct expectations and actions. This knowledge empowers you to manage your digital payments more effectively.
This understanding also contributes to a more secure payment experience. You’ll recognise legitimate verification steps from potential anomalies, protecting your financial information. It’s about being an informed and confident digital payment user.
Smooth user experience
Knowing whether you’re setting up or reactivating ensures you follow the correct instructions immediately. This prevents confusion and the need to backtrack or restart a process. Your payment journey becomes efficient and hassle-free.
Avoiding common issues
Many users confuse setup with reactivation, leading to errors like trying to link a new bank account unnecessarily. Understanding the distinction helps you sidestep these pitfalls. You’ll know what information to provide and what to expect.
Pro Tip: Keep Records
Always keep a record of your registered mobile number and linked bank account for UPI. This information is vital for both setup and reactivation.
Secure transactions
Each process has specific security checks tailored to its context. First-time setup has rigorous initial verification, while reactivation re-authenticates your existing profile. Recognising these helps you identify if something feels out of place, protecting your funds.
- Time Saving: Follow the correct steps from the start, avoiding delays.
- Reduced Frustration: Know what to expect, preventing confusion during the process.
- Error Prevention: Avoid common mistakes like incorrect fund expectations.
- Enhanced Security: Recognise legitimate security checks, safeguarding your account.
Using UPI Lite with Confidence
With a clear understanding of both initial setup and reactivation, you’re well-equipped to use UPI Lite confidently for your daily transactions. This knowledge simplifies your digital payment experience, making it a reliable tool in your financial toolkit. You can trust the system knowing how it works.
UPI Lite is more than just a convenience; it’s a testament to India’s commitment to inclusive digital finance. By embracing such innovations, you contribute to a more connected and cashless economy. You’re part of a larger digital transformation.
Simple digital payments
UPI Lite makes small-value transactions incredibly simple, removing the PIN entry hurdle for frequent payments. This ease encourages broader digital payment adoption, even for small purchases. The feature benefits areas with intermittent network, as some processing occurs offline.
Common Confusion: UPI Lite replaces the need for a regular UPI account.
UPI Lite is an add-on feature to your existing UPI account, not a replacement; you still need a standard UPI setup to use Lite.
UPI Lite is an add-on feature to your existing UPI account, not a replacement; you still need a standard UPI setup to use Lite.
Your payment choices
UPI Lite offers a flexible option within the broader UPI ecosystem. You can use regular UPI for larger transactions or those needing a PIN, and switch to Lite for quick, small payments. This flexibility gives you greater control over daily spending.
Step 1: Identify if your payment is as per the latest official guidelines or less, making it suitable for UPI Lite.
Step 2: Open your UPI app and initiate the payment (scan QR or enter ID).
Step 3: Select UPI Lite as the payment option for a PIN-free, instant transaction.
Step 4: For payments over as per the latest official guidelines, choose your regular UPI account and enter your PIN as usual.
Conclusion
Mastering the nuances between first-time UPI Lite setup and its reactivation ensures you maintain uninterrupted access to quick, PIN-free payments. By understanding these distinct processes, you can confidently manage your daily transactions and avoid common delays. Always verify your details and reload funds as needed to enjoy the seamless experience UPI Lite offers.
How to create new UPI ID on Paytm in 2025?
