

Renewing your passport might seem like a big task, but with the help of digital tools like your UPI ID, it has become much simpler and quicker. This guide will walk you through each step, making sure you understand how to use your UPI ID to make your passport renewal process smooth and easy. You’ll find that using modern digital payment methods can truly simplify government services.
Getting Started with Your Passport Renewal
Before diving into the application, let’s understand why your passport needs renewing and how your UPI ID fits into this important process.
Why Your Passport Needs Renewing
Your passport is a very important document. It acts as your official identification when you travel to other countries, and it’s also a valid proof of identity and address within your own country. Just like a school textbook that needs replacing after a few years, your passport has an expiry date. It’s crucial to renew it before it expires to avoid any last-minute rush or problems when you plan to travel. Imagine planning a wonderful holiday only to find your passport is no longer valid – that would be a real shame!
Understanding What a UPI ID Is
You might have heard of UPI, but what exactly is a UPI ID? Simply put, a UPI ID is a unique address that lets you send and receive money instantly from your bank account. It’s a bit like an email address, but for your money. Instead of sharing your bank account number and IFSC code, you can just share your UPI ID, which often looks something like yourname@bankname. This system is managed by the National Payments Corporation of India (NPCI) and is designed to make digital payments incredibly easy and secure.
The Benefits of Using UPI for Government Services
Using your UPI ID for government services, like renewing your passport, comes with many advantages. Firstly, it’s incredibly convenient; you can make payments from anywhere, at any time, using your mobile phone. Secondly, it’s fast – transactions usually happen in real-time, meaning less waiting. Thirdly, it’s secure, with strong encryption protecting your financial details. Finally, every transaction leaves a digital record, which can be very helpful if you ever need to check your payment history. It truly makes these important tasks much less of a hassle.
Preparing for Your Online Application
A little preparation goes a long way. Before you begin your online application, let’s make sure you have everything ready.
Checking Your Passport’s Expiry Date
The very first thing you should do is check the expiry date on your current passport. It’s a good idea to start the renewal process well in advance, ideally several months before it expires. This gives you plenty of time and avoids any stress. You can typically apply for a renewal within one year before your passport expires, or even after it has expired.
What Documents You Will Need
When applying online, you’ll need certain documents. While you don’t always upload them immediately, it’s wise to have them ready, especially their digital copies. Generally, you will need your old passport, proof of your current address (like a utility bill or bank statement), and proof of your date of birth (like a birth certificate or school leaving certificate). Make sure these documents are valid and up-to-date. Having everything organised beforehand makes the process much smoother.
Making Sure You Have a Valid UPI ID
Before you proceed to payment, double-check that your UPI ID is active and correctly linked to your bank account. You can usually find your UPI ID within your chosen payment application. It’s a good idea to confirm it works by making a small test transaction, perhaps to a friend or family member, just to be sure. This ensures there are no surprises when it’s time to pay for your passport renewal.
Your Step-by-Step Guide to Applying Online
Now that you’re prepared, let’s walk through the online application process itself.
Visiting the Official Passport Seva Website
The most important step is to visit the official Passport Seva website. It’s crucial to use only the government’s official portal to ensure your information is secure and your application is legitimate. You can easily find this by searching for “Passport Seva” on a reliable search engine. Always look for the government domain, which usually ends with .gov.in.
Creating or Logging Into Your Account
Once on the official website, you will need to either create a new account or log in if you already have one. If you’re a new user, the registration process is straightforward, asking for basic details like your name, email, and a password. Make sure to remember your login details for future use. If you already have an account, simply enter your username and password to proceed.
Filling in Your Application Form Carefully
This is where you provide all your personal details for the passport renewal. Take your time and fill in every section of the application form very carefully. Any mistakes, even small ones, could delay your application. Double-check your name, date of birth, address, and all other information against your existing documents. It’s always a good idea to review the entire form before submitting it.
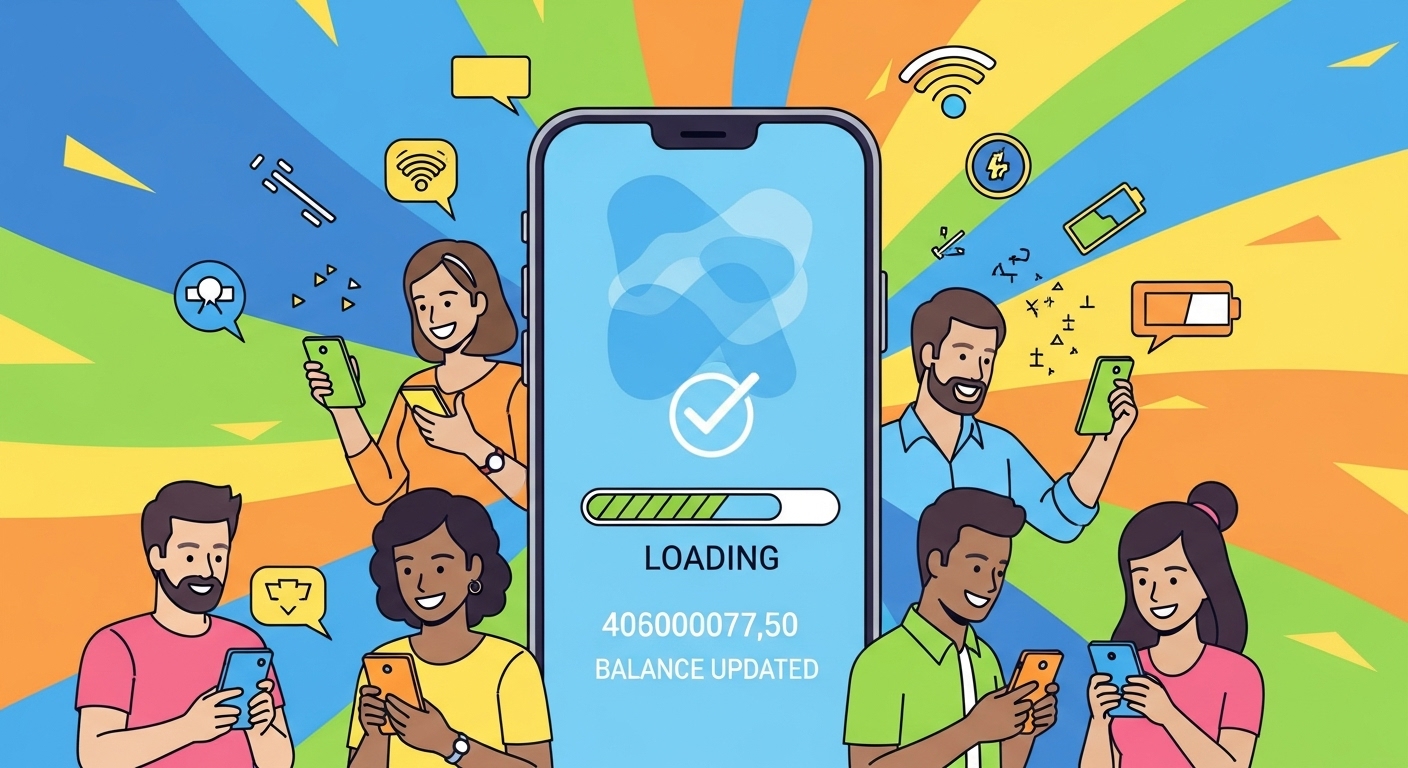
Making Your Payment with Your UPI ID
Once your application form is complete, the next step is to make the payment. This is where your UPI ID comes in handy.
Selecting the UPI payment Choice
After you have filled out your application and reviewed it, you will be directed to the payment page. Here, you will see various payment options. Look for and select the “UPI” option. This choice allows you to use your unique UPI ID to complete the transaction. It’s usually clearly labelled and easy to spot among the other payment methods.
Entering Your UPI ID Safely
Once you select UPI, you will be asked to enter your UPI ID. Carefully type in your correct ID, for example, yourname@bankname. It’s very important to type it accurately to ensure the payment goes to the right place. Remember, you should never share your UPI PIN with anyone, and always ensure you are on the official government website before entering any payment details.
Confirming Your Payment Details
After entering your UPI ID, you will usually receive a payment request notification on your chosen payment application on your mobile phone. Open your payment application, check the amount requested and ensure the recipient is “Passport Seva” or a similar official government name. Once you are sure everything is correct, you can approve the transaction by entering your UPI PIN. This step is crucial for the payment to go through.
What Happens After a Successful Payment
Congratulations! Once your payment is successful, you will receive a confirmation message both on the Passport Seva website and usually within your payment application. You will also typically receive a digital receipt. This confirms that your application fee has been paid, and your online application process is now complete. Keep this receipt safe, as you might need it later.
After Your Online Application is Complete
Paying for your application is a big step, but there are a couple more things to do before your new passport arrives.
Booking Your Appointment at a Passport Seva Kendra
After your payment is confirmed, the next important step is to book an appointment at a Passport Seva Kendra (PSK) or a Post Office Passport Seva Kendra (POPSK). The website will guide you to a calendar where you can choose a convenient date and time for your visit. This appointment is where you will submit your original documents for verification and have your photograph and fingerprints taken.
What to Bring to Your Appointment Day
On the day of your appointment, make sure you bring all your original documents that you mentioned in your application form. This includes your old passport, proof of address, and proof of date of birth. It’s also wise to carry a printout of your application form and the payment receipt. Arrive a little early to allow for any unforeseen delays. Being prepared will make your visit quick and efficient.
How to Track Your Passport Application
Once you’ve attended your appointment, you can easily track the status of your passport application online. The official Passport Seva website has a ‘Track Application Status’ feature. You will need your File Number, which is provided after you submit your application, and your date of birth. This allows you to check the progress of your passport, from verification to printing and dispatch.
Important Tips for a Smooth Process
To make your passport renewal experience as smooth as possible, here are a few helpful tips.
Keeping Your UPI Transactions Secure
Always be vigilant when making online payments. Never share your UPI PIN with anyone, not even bank officials. Always verify the recipient’s name and the amount before authorising a payment request. Avoid using public Wi-Fi networks for sensitive transactions, as they might not always be secure. Staying alert helps keep your money safe.
What to Do if You Face Payment Problems
Occasionally, you might encounter a payment issue. If your UPI payment fails or shows as pending, first check your bank account to see if the amount has been debited. If it has, wait for a short while (usually up to 48 hours), as sometimes there’s a delay in updating the status. If the issue persists, contact the customer support of your payment application or your bank for assistance. You can also contact the Passport Seva helpline.
Ensuring All Your Details Are Correct
Throughout the entire process, from filling out the application to making the payment, always double-check every detail. A small typo in your name or address could lead to delays or even rejection of your application. Taking a few extra moments to review everything carefully can save you a lot of time and trouble later on.
Wrapping Up Your Passport Renewal
Renewing your passport is an essential civic duty, and thanks to digital payment methods like your UPI ID, the process has become much more user-friendly.
Enjoying the Simplicity of Online Renewals
The ability to use your UPI ID for passport renewals truly highlights the simplicity and efficiency of modern digital payments. You can complete major parts of the application from the comfort of your home, making what was once a time-consuming task into a streamlined, convenient experience. Embrace these digital tools to make your life easier and your government interactions more efficient.