

When you need to pay hospital bills, especially during stressful times, having a quick and easy way to handle payments can make a big difference. This guide will walk you through how to use your unique digital payment identifier (often called a UPI ID) to pay hospital bills, making the process straightforward and secure. You will find that paying this way is not only convenient but also reliable, helping you manage your finances efficiently during important moments.
Understanding What UPI Is and Why It Helps
Before we dive into the ‘how-to’, let’s make sure we understand what this special payment system is and why it’s such a helpful tool, particularly when dealing with hospital expenses.
What is UPI and How Does It Work?
Imagine a special digital tool that lets you send money directly from your bank account to someone else’s, instantly, using just a unique identifier. That’s essentially what the Unified Payments Interface (UPI) is. It’s a system that links different bank accounts together, allowing for quick and easy money transfers right from your smartphone. The Reserve Bank of India (RBI) oversees this system, and the National Payments Corporation of India (NPCI) manages its operations, ensuring it’s safe and reliable for everyone.
To use it, you simply need a digital payment application on your phone, linked to your bank account. This application then creates a unique digital payment identifier for you, which acts like your address for receiving or sending money. When you want to pay, you can either enter the recipient’s unique identifier or scan a special picture called a QR code. It’s like sending a digital message, but instead of words, it’s money moving from one account to another, all in a matter of seconds.
Why Using UPI for Hospital Bills is Convenient
Paying hospital bills often requires speed and accuracy. Using this digital payment method offers several key advantages that make it particularly useful in such situations:
- Instant Payments: Money moves from your account to the hospital’s instantly, meaning no waiting for cheques to clear or card machines to process. This is incredibly helpful in emergencies or when quick discharge is needed.
- Available Any Time: You can make payments 24 hours a day, 7 days a week, even on public holidays. There are no bank opening or closing times to worry about.
- No Need for Cash or Cards: You don’t have to carry large amounts of cash or worry about card limits. Your smartphone is all you need.
- Reduced Stress: In a medical setting, anything that simplifies a process is a blessing. This digital payment method streamlines the payment step, allowing you to focus on what truly matters.
- Secure and Reliable: The system is built with strong security features, giving you peace of mind that your transactions are protected.
Getting Ready to Pay Your Hospital Bill
Before you tap to pay, there are a couple of important things you need to have in place and check. Taking these steps will ensure your payment goes smoothly.
What You Will Need to Use UPI
To make a payment using this digital system, you will need a few basic items:
- A Smartphone: This is your primary tool, as the system works through mobile applications.
- A Bank Account: Your account must be active and linked to your phone number.
- A Digital Payment Application: You’ll need to install one of the many available applications on your smartphone and link your bank account to it.
- Your Unique Digital Payment Identifier: This is your personal address for sending and receiving money, which you set up within your chosen application.
- An Active Internet Connection: Whether it’s Wi-Fi or mobile data, you’ll need internet access to process the payment.
Making Sure the Hospital Accepts UPI Payments
It’s always a good idea to confirm that the hospital accepts this particular method of digital payment. You can easily do this by:
- Asking at the Billing Counter: Simply inquire with the staff at the hospital’s reception or billing area.
- Looking for Signs: Many hospitals display stickers or signs indicating that they accept payments via digital payment applications and unique digital payment identifiers.
- Confirming the Identifier: Make sure they can provide you with their unique digital payment identifier or a QR code for payment.
Your Step-by-Step Guide to Paying with UPI
Now, let’s go through the process of paying your hospital bill, step by step. It’s simpler than you might think!
Finding Your Hospital Bill Details
Before you even open your phone, make sure you have all the necessary information from your hospital bill. This includes:
- The exact amount you need to pay.
- The bill number or patient ID, if required by the hospital.
- The correct name of the hospital or department you are paying.
Opening Your Digital Payment Application
Once you have your bill details, unlock your smartphone and locate the digital payment application you use. Tap on its icon to open it.
Scanning a QR Code or Entering the UPI ID
Most hospitals will offer two main ways to pay:
- Scanning a QR Code: If the hospital has a QR code displayed, simply select the “Scan” option in your application and point your phone’s camera at the code. The application will automatically fill in the hospital’s unique digital payment identifier.
- Entering the Digital Payment Identifier: If there’s no QR code, or if you prefer, you can manually type in the hospital’s unique digital payment identifier. Be very careful to enter it precisely. After entering, the application should show the hospital’s name for you to confirm.
Carefully Entering the Amount to Pay
This is a crucial step. Enter the exact amount shown on your hospital bill. Double-check that you’ve typed in every digit correctly, including any decimal points, to avoid paying too much or too little.
Confirming Your Payment Details
Before you finalise the payment, your digital payment application will display a summary of the transaction. This usually includes:
- The name of the recipient (the hospital).
- The amount you are about to pay.
- The unique digital payment identifier of the hospital.
Take a moment to review all these details carefully. Make sure they match your hospital bill exactly.
Completing the Payment Securely with Your PIN
Once you are absolutely sure everything is correct, the application will ask you to enter your secure PIN (Personal Identification Number). This PIN is like your secret password for authorising transactions and ensures that only you can make payments from your account. Enter your PIN, and the payment will be processed instantly.
After You’ve Paid: Important Steps
The payment process doesn’t quite end when you hit ‘confirm’. There are a few important things to do afterwards to ensure everything is settled and recorded.
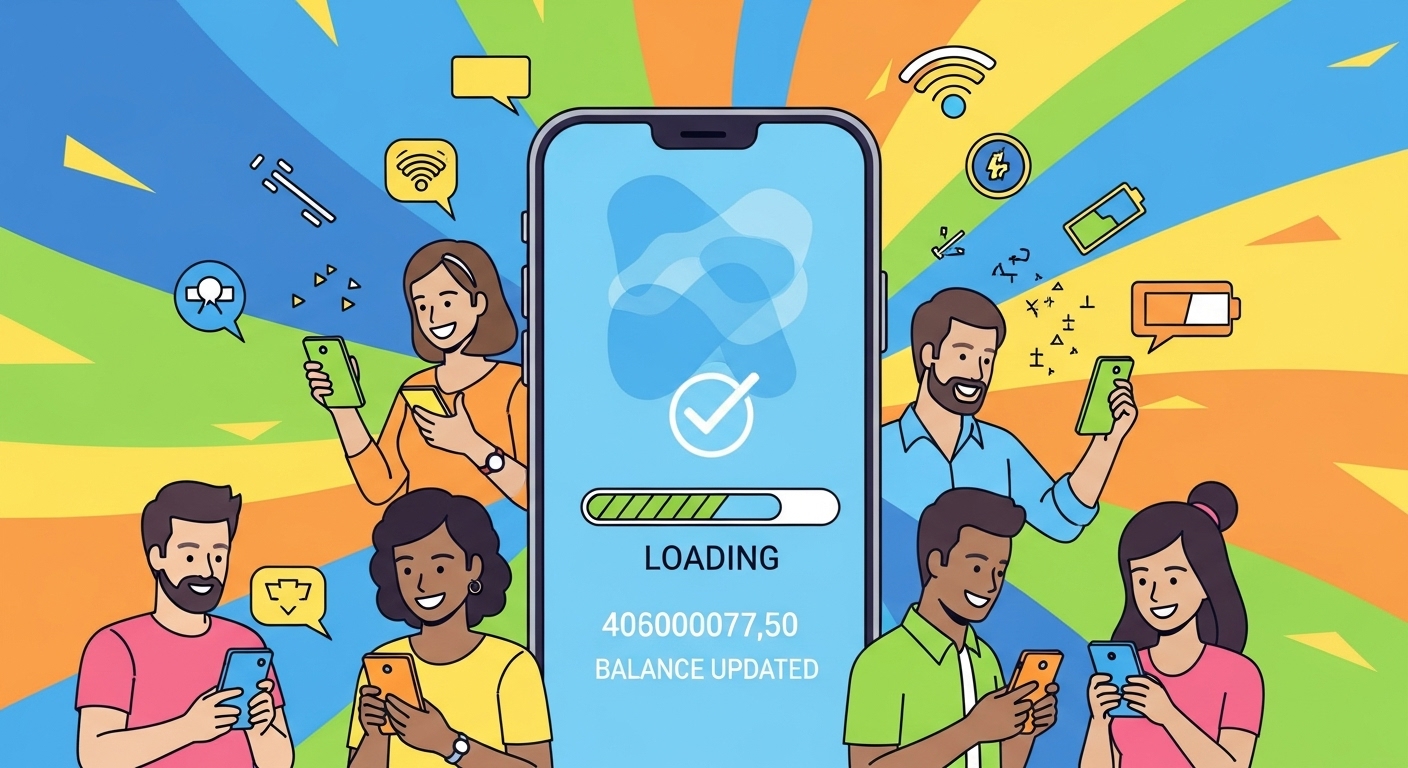
Checking if Your Payment Was Successful
Immediately after entering your PIN, your digital payment application should display a confirmation message. Look for:
- A “Payment Successful” message on your screen.
- A transaction ID or reference number.
- You might also receive an SMS notification from your bank confirming the debit.
- It’s also wise to ask the hospital staff for a physical or digital receipt confirming their receipt of your payment.
What to Do if Your Payment Fails
Occasionally, a payment might not go through successfully. Don’t worry if this happens.
- Check Your Connection: First, ensure your internet connection is stable.
- Check Your Bank Balance: Make sure you have enough funds in your linked bank account.
- Wait and Retry: Sometimes, a temporary network issue can cause a failure. Wait a few minutes and try again.
- Contact Support: If your money has been debited from your account but the payment still shows as failed, or if the hospital hasn’t received it, contact your bank or the customer support of your digital payment application immediately. Always provide them with the transaction ID.
Keeping Your Payment Records Safe
It’s always a good habit to keep records of your payments, especially for hospital bills.
- Screenshot: Take a screenshot of the “Payment Successful” screen from your application.
- Save SMS: Keep the SMS notification from your bank.
- Hospital Receipt: Always obtain and keep the official receipt from the hospital.
These records are vital for your personal accounting and can be very useful if there’s ever a query or discrepancy in the future.
Important Tips for Using UPI Securely
While this digital payment method is very secure, your vigilance plays a big part in keeping your money safe.
Protecting Your UPI PIN and Personal Details
Think of your PIN as the key to your digital wallet – never share it with anyone.
- Keep it Secret: Do not tell your PIN to family, friends, or even bank officials. No legitimate institution will ever ask for your PIN.
- Do Not Write it Down: Avoid writing your PIN anywhere it could be found.
- Be Wary of Scams: Be cautious of suspicious calls, messages, or emails asking for your personal details or PIN. Always verify the source before sharing any information.
Double-Checking All Information Before You Pay
A simple mistake can lead to your money going to the wrong place.
- Verify Recipient: Always confirm the name of the hospital or the person you are paying.
- Confirm Amount: Double-check the amount you are sending. Even a small error can cause problems.
The Simplicity of Using UPI for Hospital Bills
Using your unique digital payment identifier for hospital bills truly simplifies the payment process. It offers a fast, secure, and convenient way to handle financial transactions during what can often be a challenging time. By following these simple steps and keeping security in mind, you can manage your hospital payments with ease and confidence, allowing you to focus on health and well-being.