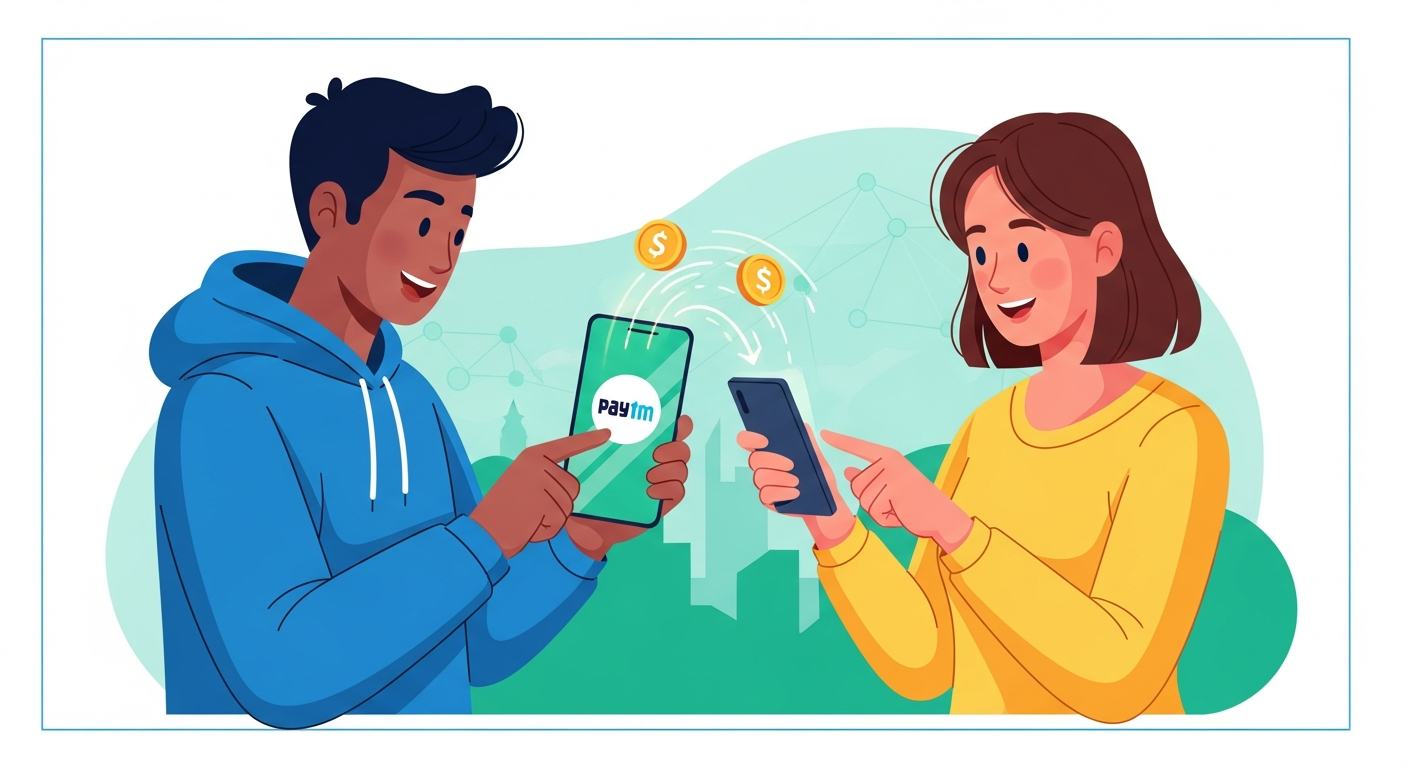
How to link bank account with UPI

byPaytm Editorial TeamNovember 27, 2025

Welcome to the world of digital payments! If you’ve ever wondered how to make sending and receiving money easier, you’re in the right place. This guide will walk you through linking your bank account to UPI, a fantastic system that makes payments quick, safe, and incredibly handy. Think of it as having your bank right in your pocket, ready whenever you need it.

What is UPI and Why is it So Handy?

UPI stands for Unified Payments Interface. It’s a clever system that allows you to link several bank accounts to a single mobile application. Once linked, you can send and receive money directly from your bank account using just your mobile phone. It’s designed to be very user-friendly and secure, making everyday financial tasks much simpler.

Making Payments Effortless with UPI

Imagine you’re buying something at a shop, paying for your bus ticket, or even splitting the cost of a meal with friends. Instead of fumbling for cash or cards, UPI lets you pay with just a few taps on your phone. You can pay by scanning a QR code, entering a mobile number, or even using a special ID called a Virtual Payment Address (VPA). It truly makes payments feel effortless, saving you time and hassle.

How UPI Helps You Send and Receive Money Instantly

One of the best things about UPI is its speed. When you send money using UPI, it moves from your bank account to the recipient’s bank account almost instantly, at any time of day or night, even on holidays. This means no more waiting for bank transfers to clear. Whether you’re sending money to a family member in another city or receiving money from a friend, UPI makes sure it happens in a flash.

Getting Ready: What You Need Before You Start

Before you begin your journey to linking your bank account with UPI, there are a couple of important things you’ll need to have in place. Getting these ready beforehand will make the entire process smooth and easy.

Your Bank Account and Mobile Number

First and foremost, you must have an active bank account with a bank that supports UPI. Most major banks in the UK and India do. Crucially, the mobile number you plan to use for UPI must be the same mobile number that is registered with your bank account. This is how the system securely identifies you. Make sure this mobile number’s SIM card is in the phone you’ll be using for the UPI application.

Picking a Reliable UPI Application for Your Device

UPI services are offered through various mobile applications. It’s very important to choose a reliable and official application. You can find these applications on your device’s official app store, such as the Apple App Store for iPhones or the Google Play Store for Android phones. Look for apps from trusted financial institutions or those widely recognised and approved by authorities like NPCI (National Payments Corporation of India), which oversees UPI. Always download apps from these official sources to ensure your safety.

Your Step-by-Step Journey to Linking Your Bank Account

Now that you’re prepared, let’s walk through the simple steps to link your bank account to UPI. It’s a straightforward process designed to be easy for everyone.

Downloading and Opening Your Chosen UPI Application

Start by searching for your chosen UPI application in your phone’s official app store. Once you find it, tap ‘Install’ or ‘Get’ to download it to your device. After the app has finished installing, tap its icon on your home screen to open it.

Registering Your Mobile Number with the Application

When you open the app for the first time, it will usually ask you to verify your mobile number. The app will send a text message (SMS) from your phone to confirm your identity and link your device to your bank-registered mobile number. Make sure the SIM card with your bank-registered number is in the phone you are using.

Finding and Selecting Your Bank from the List

After your mobile number is verified, the application will present you with a list of banks. Scroll through the list or use the search bar to find your bank. Once you locate it, simply tap on your bank’s name. The app will then securely fetch details of any bank accounts linked to your verified mobile number.

Verifying Your Bank Account Details

The UPI application will display the bank accounts associated with your mobile number. You will need to select the account you wish to link. To fully verify and activate your chosen bank account for UPI, you will typically be asked to enter some details from your debit card (also known as an ATM card). This usually includes the last six digits of your debit card number and its expiry date. This step is crucial for security and to confirm you are the legitimate owner of the account.

Creating Your Unique and Secure UPI PIN

The final step is to create your UPI PIN (Personal Identification Number). This is a 4 or 6-digit secret code that you will use to authorise all your UPI transactions, just like a PIN for your debit card. You will usually be asked to enter your debit card details again to set this up. Choose a PIN that is easy for you to remember but difficult for others to guess. Remember, this PIN is your key to secure payments.

Managing Your Linked Bank Accounts with Ease

Once your bank account is linked, managing your finances through UPI becomes incredibly simple. You have full control right from your mobile application.

Adding Another Bank Account to UPI

Did you know you can link more than one bank account to the same UPI application? If you have accounts with different banks, or even multiple accounts with the same bank, you can easily add them. The process is very similar to linking your first account: simply go to the ‘Bank Accounts’ or ‘Payment Methods’ section in your app and choose ‘Add Bank Account’. You’ll then follow the same steps of selecting your bank and verifying your details.

Checking Your Bank Balance Instantly

One of the most convenient features of UPI is the ability to check your bank account balance instantly. Within your UPI application, you’ll usually find an option like ‘Check Balance’ or ‘View Balance’. Tap on this, select the bank account you wish to check, and enter your UPI PIN. Your current balance will then be displayed on your screen, giving you real-time financial updates whenever you need them.

Removing an Account You No Longer Need

If you close a bank account or simply no longer wish to use it with UPI, you can easily remove it from your application. Most UPI apps have an option to ‘Manage Accounts’ or ‘Unlink Account’. Select the account you wish to remove and follow the prompts. This ensures that only the accounts you actively use remain linked to your UPI profile.

Staying Safe and Secure with UPI

While UPI offers amazing convenience, it’s very important to always prioritise your safety and security. Understanding a few simple rules can help protect your money and personal information.

Keeping Your UPI PIN a Secret

Your UPI PIN is like the key to your digital wallet. You must never share your UPI PIN with anyone, not even with bank officials, family, or friends. Do not write it down or store it where others can find it. Remember, you only need to enter your UPI PIN when you are sending money or checking your balance, never when you are receiving money. If someone asks for your PIN to send you money, it is a scam.

What to Do If Your Phone Goes Missing

Losing your phone can be worrying, especially with your financial apps on it. If your phone goes missing, act quickly. First, immediately contact your mobile network provider to block your SIM card. Next, contact your bank’s customer service or the customer support for your UPI application to block your UPI services. This prevents anyone else from using your linked accounts.

Understanding Your Transaction Limits and Safety Tips

Banks and NPCI set daily transaction limits for UPI for your security. These limits help protect you from large unauthorised transactions. Always be cautious of unsolicited requests for money or suspicious links. Before making any payment, double-check the recipient’s details, such as their name or VPA, to ensure you are sending money to the correct person. Remember, staying informed and vigilant is your best defence against fraud.

You May Also Like