

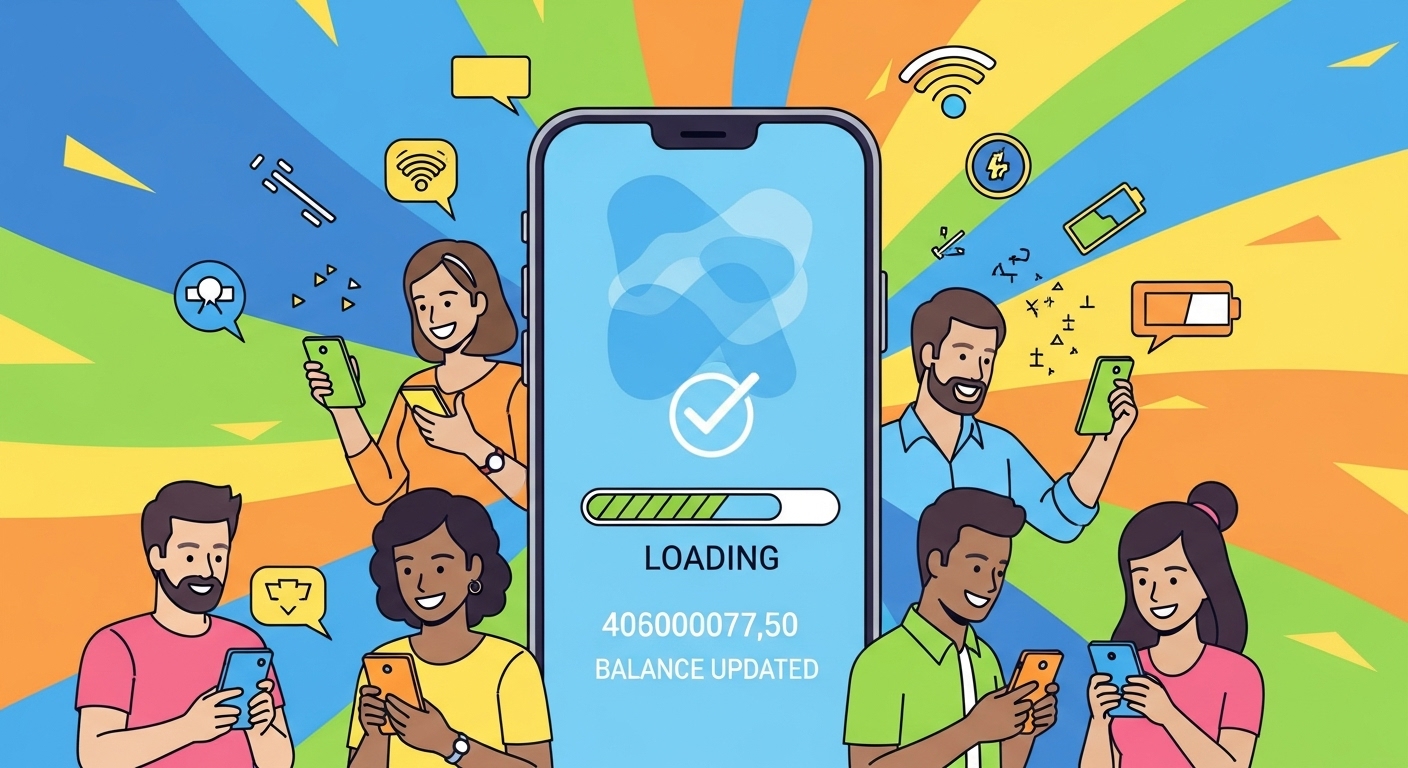
In today’s fast-paced world, sending and receiving money digitally has become incredibly common. It’s quick, easy, and often very convenient. Just like you might keep an eye on your pocket money or savings, it’s a really good idea to regularly check your digital payment records. This guide will help you understand how to do just that, making sure you feel confident and secure with your online transactions.
What is UPI and Why Keep an Eye on Your Payments?
Understanding UPI: A Quick Look
Imagine you want to send money to a friend or pay for something at a shop, and you don’t want to use cash or a card. That’s where UPI comes in! UPI, which stands for Unified Payments Interface, is a clever system that lets you send and receive money directly from your bank account using just your mobile phone. It’s like having a digital wallet linked straight to your bank, making payments super-fast and simple. You use a special address, often called a Virtual Payment Address (VPA), or sometimes just a mobile number, to make these payments. It’s a very popular way to handle money in India because it’s so convenient and works all day, every day.
Why It’s Important to Review Your Digital Payment Records
Keeping an eye on your digital payment records is a bit like checking your school report card – it helps you see how things are going! Regularly reviewing your transactions offers several important benefits:
- Spotting Mistakes: You can quickly see if a payment went through correctly or if there was a problem.
- Catching Odd Activity: It helps you notice any payments you don’t recognise. This is incredibly important for catching potential fraud early.
- Managing Your Money: You can keep track of where your money is going, helping you understand your spending habits.
- Proof of Payment: Sometimes you might need to show proof that you paid for something. Your transaction history is perfect for this.
By taking a few moments to check your history, you’re taking a big step towards keeping your money safe and sound.
Where to Find Your UPI Transaction Details
Finding your transaction details is usually quite straightforward, as most banks and trusted payment applications make it easy for you.
Using Your Bank’s Official Mobile Application
Most banks today offer their own official mobile applications. These apps are designed to help you manage your bank account, and that includes checking your UPI transactions.
To find your details:
- Download and Install: Make sure you have downloaded your bank’s official app from a trusted app store (like the Google Play Store or Apple App Store).
- Log In Securely: Open the app and log in using your secure credentials, which might include a username, password, or even your fingerprint or face ID.
- Look for ‘Transactions’ or ‘History’: Once logged in, you’ll usually find a section clearly labelled ‘Transactions’, ‘History’, ‘Passbook’, or ‘Statements’. Tap on this to see your payment records.
Always ensure you are using your bank’s official application to protect your account information.
Accessing History Through Your Trusted Payment Application
Besides your bank’s app, you might also use other trusted payment applications that allow you to make UPI payments. These applications also keep a record of all the transactions you’ve made through them.
To view your history in these apps:
- Open the App: Launch the trusted payment application you use.
- Log In: Securely log into your account.
- Find ‘History’ or ‘My Transactions’: Look for a section that says ‘History’, ‘My Transactions’, ‘Payments’, or something similar. It’s usually quite prominent on the main screen or within a menu.
Remember to only use applications that you trust and have verified, to keep your financial information safe.
Your Step-by-Step Guide to Viewing Transactions
Now, let’s walk through the exact steps you can take to view your UPI transaction history.
Navigating to the ‘History’ or ‘Transactions’ Area
Once you’ve opened your chosen app (either your bank’s app or a trusted payment application) and logged in securely, finding your transaction history is typically very simple:
- Look for the Right Icon: Often, there’s a specific icon that looks like a clock, a list, or a small book, which usually means ‘History’ or ‘Transactions’.
- Check the Main Menu: If you don’t see it immediately, look for a menu button (sometimes three lines or dots) which might open up more options, including ‘Transaction History’ or ‘My Payments’.
- Tap to Open: Once you find it, simply tap on it to see a list of your recent transactions.
This section will show you a of all the money you’ve sent and received.
How to Filter and Find Specific Payments
Sometimes, you might be looking for a very specific payment from a while ago. Sifting through a long list can be tricky, but most apps offer helpful tools to make it easier:
- Date Range: You can usually choose to see transactions from a specific period, like “Last 30 days,” “This Month,” or even set a custom date range. This is great if you remember roughly when the payment happened.
- Transaction Type: Many apps let you filter by whether the money was “Sent,” “Received,” or for “Bill Payments.”
- Amount: If you remember the approximate amount, you can sometimes search by that too.
- Search Bar: Some apps have a search bar where you can type in a name, a merchant, or even part of a transaction ID to find what you’re looking for quickly.
Using these filters can save you a lot of time and help you pinpoint exactly what you need.
What Each Transaction Record Shows You
When you tap on a specific transaction in your history, you’ll usually see a detailed record. This information is really important:
- Date and Time: Exactly when the payment took place.
- Amount: The exact sum of money that was sent or received.
- Sender/Receiver Details: Who sent the money or who received it. This might be their name or their Virtual Payment Address.
- Transaction ID: This is a unique reference number for that specific payment. It’s like a receipt number and is very important if you ever need to query a transaction.
- Status: Whether the transaction was ‘Successful’, ‘Pending’, or ‘Failed’.
- Description: Sometimes, there’s a small note about what the payment was for, like ‘Groceries’ or ‘Mobile Recharge’.
Understanding these details helps you confirm everything is correct.
What If Something Looks Unusual?
It’s natural to feel a bit worried if you spot something in your transaction history that doesn’t look quite right. But don’t panic! There are clear steps you can take.
Identifying a Transaction That Seems Incorrect
When you’re reviewing your history, keep an eye out for anything that stands out:
- Unrecognised Amounts: A payment for an amount you don’t remember making.
- Unknown Recipients: Money sent to someone you don’t know or didn’t intend to pay.
- Unexpected Payments: A transaction that you know you didn’t authorise.
- Duplicate Charges: Sometimes, a payment might appear twice by mistake.
- Failed Transactions: A payment that shows as failed but the money still seems to have left your account.
If any of these pop up, it’s a signal to investigate further.
How to Get Help from Your Bank or Service Provider
If you find an unusual transaction, acting quickly is key. Here’s what you should do:
- Do Not Delay: Contact your bank or the service provider of your trusted payment application as soon as possible.
- Use Official Channels: Always use the official customer service phone numbers, email addresses, or in-app support features provided by your bank or the payment app. You can usually find these on their official websites.
- Provide Details: When you contact them, have all the transaction details ready, especially the Transaction ID, date, time, and amount. Explain clearly what seems incorrect.
- Follow Their Advice: They will guide you through the process, which might involve blocking your account temporarily if fraud is suspected, or raising a dispute.
Your bank or service provider is there to help you resolve these issues safely and effectively.
Keeping Your Digital Payment History Secure
Protecting your digital payment history is just as important as protecting your physical wallet. A few simple habits can make a big difference.
Simple Tips for Protecting Your Account
- Strong Passwords and PINs: Always use unique, complex passwords for your apps and never share your PIN with anyone. Change them regularly.
- Guard Your OTP: Your One-Time Password (OTP) is like a special key for a single transaction. Never share it with anyone, even if they claim to be from your bank.
- Be Wary of Public Wi-Fi: Try to avoid making financial transactions when connected to public Wi-Fi networks, as they can sometimes be less secure.
- Official Apps Only: Only download and use official banking and payment applications from trusted app stores.
- Secure Your Phone: Use a screen lock (PIN, pattern, fingerprint, or face ID) on your mobile phone to prevent unauthorised access.
- Beware of Phishing: Be cautious of suspicious messages or emails asking for your banking details or to click on strange links. Banks will never ask for your PIN or OTP via email or SMS.
By following these simple tips, you significantly reduce the risk of someone gaining unauthorised access to your payment information.
The Benefit of Regularly Checking Your Transactions
Making a habit of regularly checking your transaction history is one of the best ways to keep your digital payments secure and your finances in order.
- Early Detection of Fraud: The sooner you spot an unusual transaction, the faster your bank can act to protect your money and investigate any potential fraud.
- Better Financial Control: It helps you stay on top of your spending, making it easier to manage your budget and achieve your financial goals.
- Peace of Mind: Knowing that you are actively monitoring your accounts gives you confidence and peace of mind about your digital money.
- Faster Resolution: If an issue does arise, having a clear and up-to-date understanding of your transactions helps in resolving it much more quickly and smoothly.
So, make it a routine – a quick check now and then can save you a lot of trouble and keep your money safe.