

Keeping your internet connected is important for school, entertainment, and staying in touch. Paying your bills might seem a bit grown-up, but with a UPI ID, it’s actually quite straightforward and secure. This guide will walk you through each step, making sure you feel confident and ready to manage your internet payments with ease.
Understanding Your UPI ID
Before we dive into paying bills, let’s make sure you understand what a UPI ID is and why it’s such a helpful tool for managing your money.
What exactly is a UPI ID?
Imagine you have a special, unique address just for your bank account, but instead of for letters, it’s for sending and receiving money. That’s essentially what a UPI ID is! UPI stands for Unified Payments Interface, and it’s a system that allows you to send or receive money directly from your bank account using just this simple ID. It’s like having an email address for your money, making transactions quick and easy without needing to share your full bank account details every time. This clever system was created by the National Payments Corporation of India (NPCI) to make digital payments simple and safe for everyone.
Why is using UPI a great choice for your bills?
Using UPI for your bills, especially for something as regular as your internet, comes with many benefits. It’s incredibly fast, meaning your payment goes through almost instantly. It’s also very convenient, allowing you to pay from anywhere at any time, using just your smartphone. Most importantly, it’s a highly secure way to manage your payments, as each transaction requires a special secret code, your UPI PIN, which keeps your money safe.
Getting Ready to Pay
Before you make your first payment, there are a couple of things you’ll need to have in place. Don’t worry, they are quite simple!
What you will need
To pay your internet bill using a UPI ID, you will need just a few essentials:
- A smartphone with an active internet connection.
- A bank account.
- A UPI-enabled application installed on your smartphone. This could be an application provided by your bank or another trusted payment service provider.
- Your internet service provider’s customer ID or account number, which you can usually find on a previous bill or by logging into your provider’s website.
Making sure your UPI ID is set up
If you haven’t used UPI before, you’ll need to set it up first. This usually involves downloading a UPI-enabled application, registering with your mobile number (which must be linked to your bank account), and then linking your bank account to the application. During this process, you will also create a unique UPI ID and a secret UPI PIN. This PIN is crucial for confirming your payments, so keep it safe and private!
Your Step-by-Step Guide to Paying Bills
Now that you’re all set up, let’s walk through the exact steps to pay your internet bill.
Opening your chosen UPI application
First things first, unlock your smartphone and find the UPI-enabled application you use. Tap on its icon to open it up.
Finding the bill payment section
Once the application is open, look for a section that says something like “Bill Pay,” “Recharge & Bills,” or “Utilities.” Most applications make this easy to find, often with clear icons.
Entering your internet bill details
Inside the bill payment section, you will usually see different categories. Select “Internet” or “Broadband” from the list. Then, you’ll need to choose your specific internet service provider from the options given. After that, carefully enter your customer ID or account number for your internet service. It’s very important to get this number exactly right!
Confirming your payment with your UPI ID
Once you’ve entered your details, the application will usually show you your outstanding bill amount. Take a moment to check that the amount and the service provider details are correct. If everything looks good, you will be prompted to proceed with the payment, using your linked bank account via your UPI ID.
Entering your secret UPI PIN
This is the final security step. You will be asked to enter your secret UPI PIN. This is like your digital signature, proving that you are authorising the payment. Enter your PIN carefully.
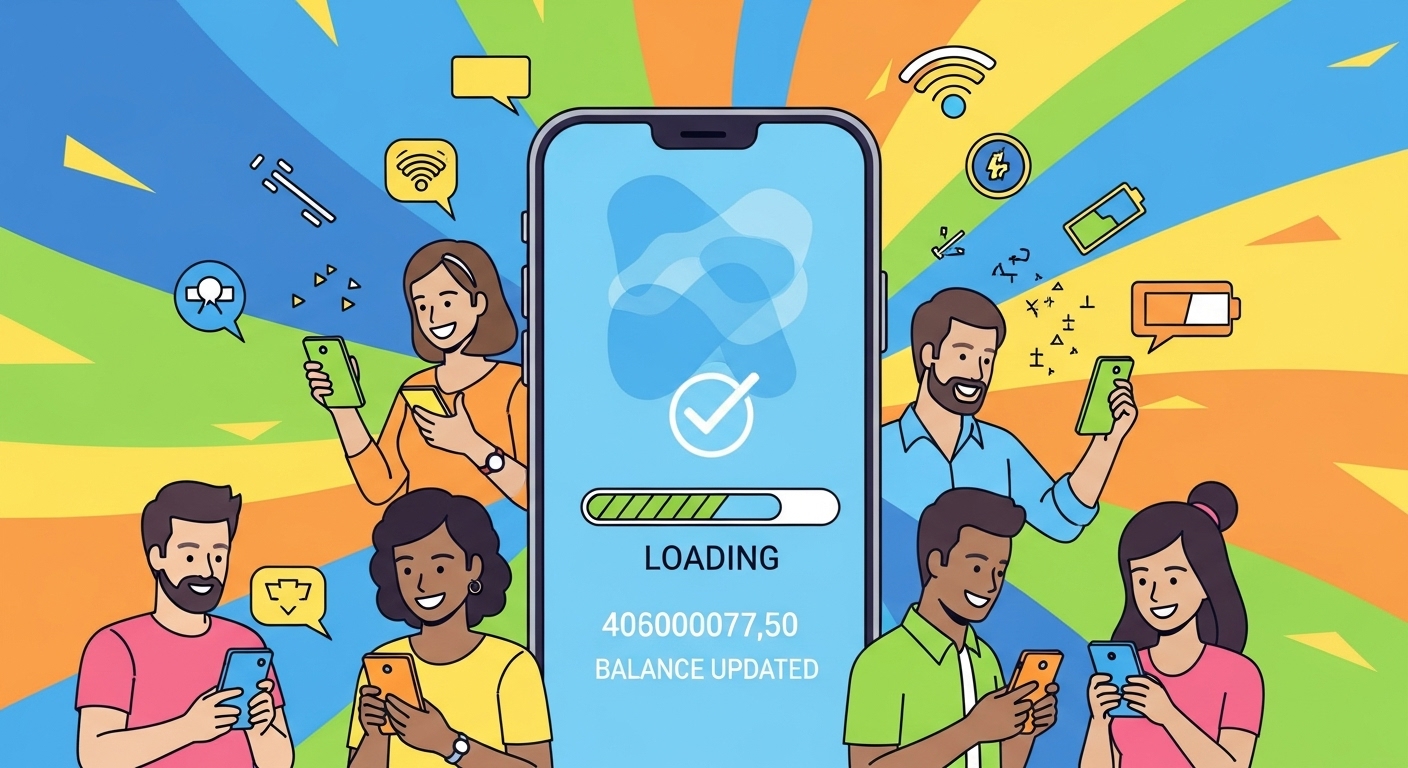
Checking for your payment confirmation
After you enter your PIN, the payment will be processed almost instantly. You should then see a confirmation message on your screen, letting you know that your payment was successful. You might also receive a text message from your bank or the application, and an email from your internet provider confirming the payment. It’s always a good idea to keep these confirmations for your records.
Important Tips for Smooth Payments
To ensure your bill payments always go smoothly, here are some helpful tips to keep in mind.
Always double-check your bill information
Before you confirm any payment, make it a habit to double-check everything: the customer ID, the bill amount, and the name of your internet service provider. A small mistake here could mean your payment goes to the wrong account or for the wrong amount.
Understanding how much you can pay
Banks and NPCI set daily limits on how much money you can send using UPI. While these limits are usually quite high and more than enough for an internet bill, it’s good to be aware of them. If you ever have a very large bill, you might want to check your daily limit with your bank first.
What to do if something goes wrong
If your payment doesn’t go through, or if you see an error message, don’t panic. First, check your transaction history within your UPI application to see if the payment was recorded. If it wasn’t, you can try again. If the money has left your account but the payment isn’t confirmed, contact your internet service provider first, and then your bank if needed.
Keeping your UPI PIN private and safe
Your UPI PIN is the key to your money. Never share it with anyone, not even friends, family, or anyone claiming to be from your bank or internet provider. Do not write it down where others can find it. Treat it like a secret code that only you should know. Changing it regularly can also add an extra layer of security.
The Advantages of Using UPI for Your Internet Bills
Using UPI for your internet bills isn’t just about paying; it’s about paying smartly.
Paying quickly and easily
With UPI, you can pay your bill in just a few taps on your phone. There’s no need to visit a payment centre, write cheques, or remember card details. It’s all about speed and simplicity.
Keeping your money safe
UPI transactions are highly secure, using encryption and your secret PIN to protect your financial information. This robust security framework, overseen by NPCI, gives you peace of mind with every payment.
Paying whenever you need to
Whether it’s early morning or late at night, on a weekday or a public holiday, UPI allows you to make payments 24 hours a day, 7 days a week. Your internet connection won’t suffer because payment offices are closed.
Tracking your payments
Every payment you make through your UPI application is recorded in your transaction history. This makes it easy to keep track of your spending and confirm that your bills have been paid.
In A Smart Way to Pay
Using a UPI ID to pay your internet bill is a modern, efficient, and secure way to manage your household expenses. By following these simple steps and keeping the important tips in mind, you can enjoy the convenience and peace of mind that comes with digital payments. It’s a smart choice that empowers you to handle your bills quickly and safely, keeping you connected to the digital world without any hassle.