

Register for events effortlessly using your unique UPI ID. This guide explains how this digital payment system simplifies fees, linking your bank accounts to a mobile application for fast, secure transactions. Learn to prepare, find your ID, and follow a step-by-step process for making payments. Crucially, always verify recipient details, keep your PIN secret, and secure your device to ensure safe and smooth event registrations.
Attending events, workshops, or even school functions often means needing to register and pay a fee. Traditionally, this might have involved cash, cheques, or complicated bank transfers. However, thanks to digital advancements, using your unique UPI ID has become a wonderfully simple and secure way to manage these payments. This guide will walk you through everything you need to know about using your UPI ID to register for your next event with ease.
Understanding What UPI Is and Why It’s So Handy
Imagine a world where paying for things is as easy as sending a message. That’s essentially what UPI helps you do, especially when it comes to registering for events.A Simple Look at Your Unified Payments Interface (UPI)
UPI stands for Unified Payments Interface. It’s a clever system that lets you link all your bank accounts to one single mobile application. Think of it like a digital bridge connecting your bank account directly to others, all from your smartphone. This system was created by the National Payments Corporation of India (NPCI) and is available to use 24 hours a day, 7 days a week. It allows you to send and receive money directly from your bank account without needing to remember complicated bank details like account numbers or IFSC codes for every transaction. Instead, you use a simple, unique identifier – your UPI ID.Why UPI Makes Event Payments Easier for You
Using UPI for event payments offers several fantastic benefits that make your life much simpler:- Incredibly Convenient: You can pay from anywhere, at any time, using just your smartphone. No need to rush to a bank or an ATM.
- Super Fast: Transactions happen almost instantly, meaning your registration is confirmed quickly.
- Highly Secure: Payments go directly from your bank account to the event organiser’s bank account, using secure encryption. You don’t have to share your bank account details with the organiser.
- No Cash Worries: You don’t need to carry physical cash or worry about having the exact change.
- Simple to Use: Once you’ve set it up, making a payment is straightforward, needing only a few taps on your phone.
Getting Everything Ready for Your UPI payment
Before you dive into making your event payment, there are a few simple things you’ll need to have in place. Getting prepared ensures a smooth and quick transaction.What You’ll Need Before You Pay
To make a UPI payment, you will need:- A Smartphone: Your mobile phone is your digital wallet and payment tool.
- A Bank Account: This account must be linked to your mobile number.
- A UPI-Enabled Payment Application: This is an app that you download onto your smartphone, which allows you to make UPI transactions. There are many reliable options available.
- An Active Internet Connection: Whether it’s Wi-Fi or mobile data, you’ll need it for the app to work.
- Your Unique UPI ID: This is your personal identifier for receiving or sending money.
Finding Your Unique UPI ID
Your UPI ID is like a special address for your bank account, but much easier to remember. It often looks something like ‘yourname@bank’ or ‘yourphonenumber@provider’. To find yours:- Open your chosen payment application on your smartphone.
- Look for your profile section, settings, or a specific area labelled ‘My UPI ID’. This is usually found by tapping on your profile picture or initials.
- Your unique ID will be displayed there. It’s important to know this ID, as it’s how others can send money to you, and it helps you manage your account.
A Step-by-Step Guide to Paying for Your Event
Now that you’re all set up, let’s go through the process of actually paying for your event registration using your UPI ID. It’s simpler than you might think!How Event Organisers Use UPI for Registrations
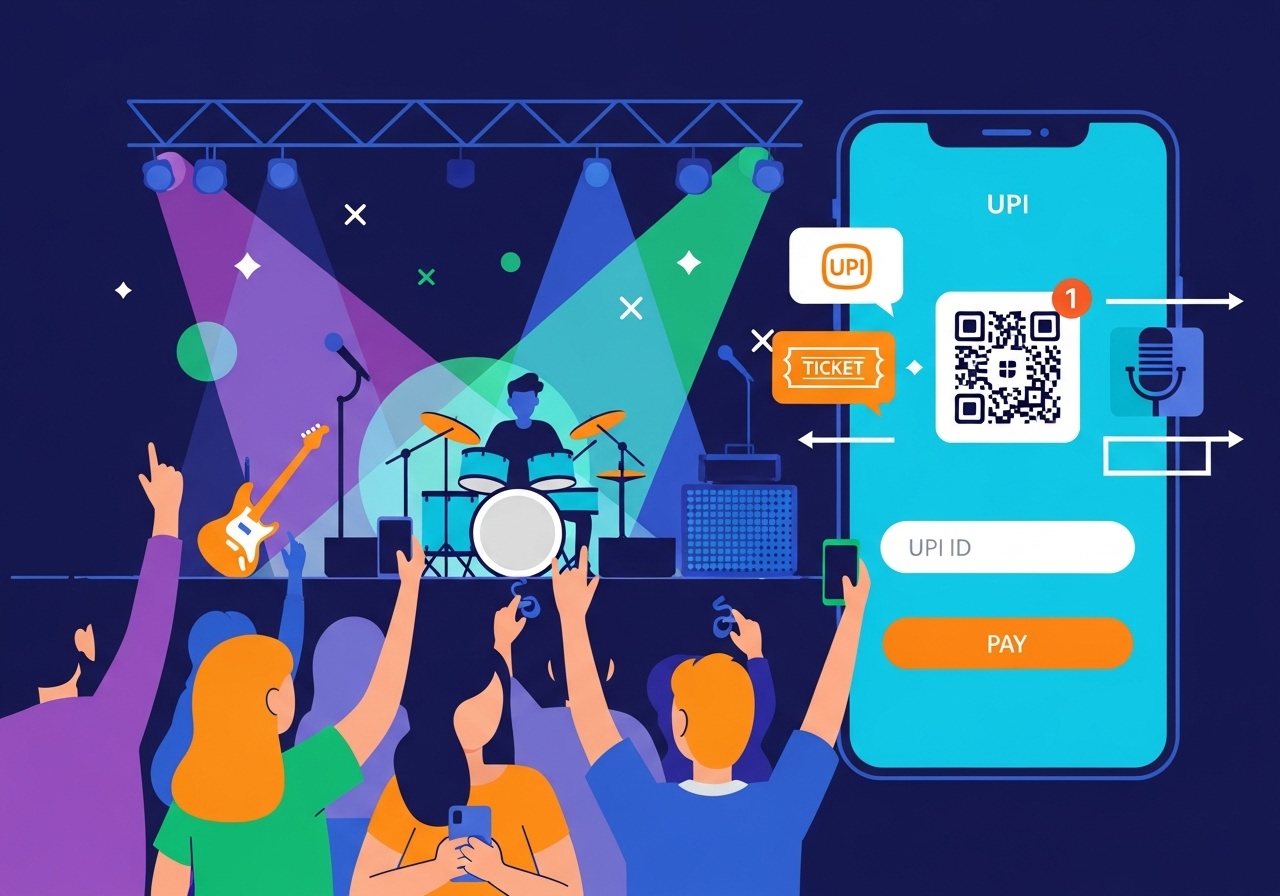
Event organisers often provide their UPI ID or a QR code (a special scannable picture) as a payment option. This makes it very easy for them to collect registration fees from many people without handling lots of cash or bank details. When you use their UPI ID, your payment goes directly and securely to their bank account, making the registration process efficient for everyone involved.Making Your Payment with a UPI ID
Follow these steps carefully to make your payment:- Open your UPI-enabled payment application on your smartphone.
- Select the ‘Send Money’ or ‘Pay’ option. You might see an icon that looks like a scanner if you’re using a QR code.
- Enter the event organiser’s UPI ID. If they’ve given you a QR code, you can simply scan it, and their ID will appear automatically. Double-check that the ID is absolutely correct.
- Carefully enter the exact registration amount. Make sure there are no typos!
- Add a note or remark. This is very important! Write something clear like “Event Registration – [Your Name]” or “Workshop Fee – [Your Roll Number]” so the organiser knows exactly who the payment is from and what it’s for.
- Review all the details on your screen one last time – the recipient’s name, their UPI ID, and the amount.
- Enter your UPI PIN (Personal Identification Number) to authorise the payment. This is a secret number only you should know.
- Tap ‘Confirm’ or ‘Pay’.
Checking That Your Payment Went Through
After you confirm your payment, you’ll usually see an instant confirmation message on your app’s screen, telling you if the transaction was successful. You might also receive an SMS message from your bank confirming the money has left your account. Always check the transaction history within your payment application to see the status of your payment. It’s reassuring to see “Successful” there!What Happens After Your UPI Payment?
Once you’ve made your payment, there are a couple of important things to look out for to ensure your registration is complete and you have a record of it.Getting Your Event Registration Confirmation
After a successful UPI payment, the event organisers will typically send you an official confirmation. This might come as an email or an SMS message to your registered contact details. This confirmation is proof that your payment has been received and your spot at the event is secured. It’s a good idea to keep this confirmation safe, perhaps by starring the email or saving the message.Keeping a Record of Your Payment
Even though the organiser sends a confirmation, it’s always wise to keep your own record of the payment. Your UPI-enabled payment application automatically keeps a detailed transaction history, which you can look back at anytime. Additionally, your bank statements will show the debit from your account. For extra peace of mind, consider taking a screenshot of the successful transaction confirmation page in your app. This personal record can be very helpful if you ever have a question about your payment later on.Keeping Your UPI Payments Safe and Secure
While UPI is designed with strong security measures, it’s crucial for you to also play your part in keeping your transactions safe. Being aware and careful can prevent potential issues.Important Tips for Safe UPI Transactions
Here are some essential tips to help you keep your UPI payments secure:- Never Share Your UPI PIN: Your UPI PIN is a secret, just like the PIN for your bank card. No one, not even your bank or the payment application provider, will ever ask you for it. Keep it completely private.
- Always Verify the Recipient’s UPI ID: Before you make any payment, double-check that the event organiser’s UPI ID is absolutely correct. A small mistake could send your money to the wrong person.
- Be Wary of PIN Requests to Receive Money: Remember, you only need to enter your UPI PIN when you are sending money. If someone asks you for your PIN to receive money, it’s a scam.
- Use Strong Security for Your Phone and App: Protect your smartphone with a strong password, PIN, or biometric lock (like fingerprint or face recognition). Also, ensure your payment application itself is secured with a strong password or PIN.
- Beware of Suspicious Links and Messages: Be very careful about clicking on links in SMS messages or emails that seem unusual. These could be attempts to trick you into revealing your personal details.
- Regularly Check Your Transaction History: Get into the habit of reviewing your payment application’s transaction history and your bank statements regularly. This helps you spot any unusual activity quickly.
- Report Suspicious Activity Immediately: If you ever notice any suspicious transactions or believe your account has been compromised, contact your bank and the payment application’s support team straight away.
Author
FAQs
What is UPI?
UPI stands for Unified Payments Interface. It's a system that lets you link your bank accounts to one mobile app, allowing you to send and receive money directly from your bank using your smartphone.
What are the main benefits of using this system for event payments?
It's very convenient, fast, secure, means you don't need cash, and is simple to use.
What do I need to make a payment using this system?
You will need a smartphone, a bank account linked to your mobile number, a payment application, an active internet connection, and your unique ID.
How can I find my unique ID?
Open your chosen payment application, then look for your profile section, settings, or an area labelled 'My UPI ID'.
How do I pay for an event using an organiser's ID?
Open your payment application, select 'Send Money', enter the organiser's ID and the exact amount, add a clear note, review the details, then enter your PIN to confirm.
How do I know if my payment was successful?
You'll usually see an instant confirmation message in your app, receive an SMS from your bank, and can check your payment application's transaction history.
What are some important tips for keeping my payments safe?
Never share your PIN, always check the recipient's ID, be careful of PIN requests to *receive* money, use strong security for your phone and app, and regularly check your transaction history.
