

This guide provides a comprehensive overview of using UPI for college admission fee payments. Learn what Unified Payments Interface is, its benefits like convenience and security, and how to set it up by linking your bank account and creating a PIN. Follow step-by-step instructions for finding college details, initiating payments, and double-checking information. The summary also includes advice on handling failed payments, money deductions, and important tips for a smooth admission process, ensuring you pay your fees securely and on time.
Embarking on your college journey is an exciting time, and paying admission fees should be simple and stress-free. This guide will help you understand how to use a fantastic digital payment system called UPI to handle your college admission payments easily and securely. Think of it as a helpful friend guiding you through a straightforward way to pay.
Understanding UPI: A Simple Way to Pay
Let’s start by getting to know UPI better. It’s a very popular and secure way to manage money in India, making payments quick and easy for millions of people every day.What Exactly is UPI?
UPI stands for Unified Payments Interface. It’s a special system, developed by the National Payments Corporation of India (NPCI), that lets you send or receive money directly between bank accounts using just your mobile phone. You can use a mobile application from your bank or another trusted provider to do this. It’s like having your bank in your pocket, ready to make instant payments without needing to share your bank account number every time. All you need is a unique identifier, often called a UPI ID, or sometimes you can even scan a QR code.Why Use UPI for College Fees?
Using UPI for your college fees comes with many benefits that make the process much smoother for you:- Super Convenient: You can pay your fees from anywhere, at any time, using just your smartphone. No need to visit the bank or stand in queues!
- Fast and Instant: Payments happen immediately. Once you confirm, the money usually reaches the college’s account almost instantly, giving you peace of mind.
- Safe and Secure: UPI uses advanced security features to protect your transactions. Your bank account details are kept private, and every payment needs your secret PIN.
- Easy Tracking: Every UPI transaction generates a unique ID, which helps you keep a clear record of your payment. This is very useful for your admission documents.
- No Cash or Cards Needed: You don’t have to worry about carrying large amounts of cash or remembering your card details. It’s all handled digitally.
Getting Ready: Setting Up Your UPI
Before you can make any payments, you’ll need to set up UPI on your phone. Don’t worry, it’s quite simple!What You Need Before You Start
To get started with UPI, you’ll need a few things ready:- A Smartphone: This is where you’ll install the UPI application.
- An Active Bank Account: You need a bank account in your name.
- Mobile Number Linked to Your Bank Account: The phone number you use for UPI must be the same one registered with your bank account.
- A UPI-Enabled Application: This could be your bank’s official mobile application or another reliable payment application that supports UPI.
How to Link Your Bank Account to UPI
Once you have your chosen application downloaded, linking your bank account is typically a straightforward process:- Open the Application: Launch the UPI application on your smartphone.
- Register: You’ll usually need to register using your mobile number. The app will verify this number, often by sending an SMS.
- Select Your Bank: From a list, choose the bank where you have your account. The application will then automatically find your bank account linked to your mobile number.
- Confirm: Follow the on-screen instructions to link your account.
Creating Your UPI PIN
Your UPI PIN is like a secret password for your transactions. It’s super important for security, so keep it safe!- Find the ‘Set UPI PIN’ Option: In your UPI application, look for an option to ‘Set UPI PIN’ or ‘Change UPI PIN’ for your linked bank account.
- Use Your Debit Card Details: You’ll need to enter the last six digits of your debit card number and its expiry date. This helps your bank confirm it’s really you.
- Enter OTP: Your bank will send a One-Time Password (OTP) to your registered mobile number. Enter this into the app.
- Create Your PIN: You will then be asked to create a 4-digit or 6-digit PIN. Choose something you can remember but is hard for others to guess.
- Confirm PIN: Enter your chosen PIN again to confirm it. And just like that, your UPI PIN is ready!
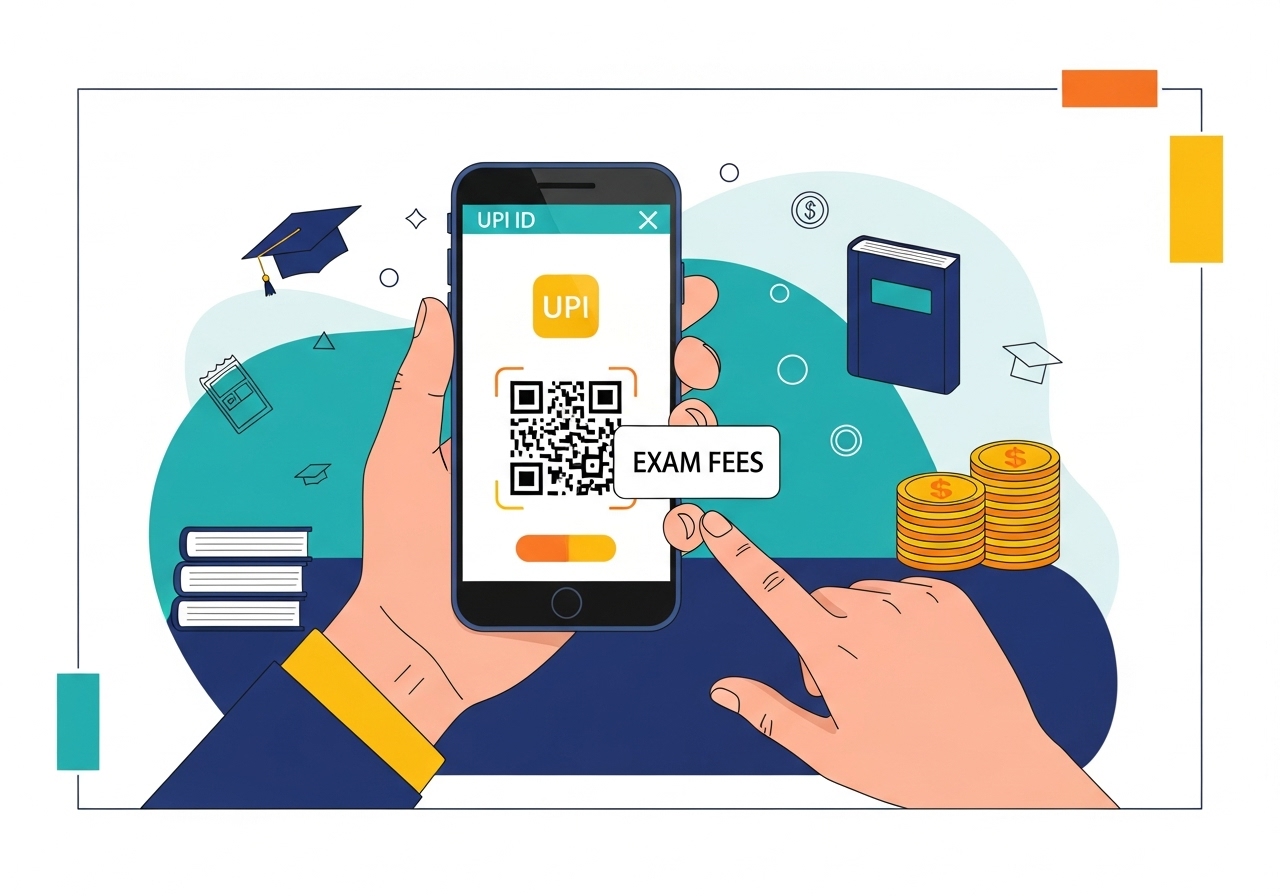
Paying for College Admissions with UPI: A Step-by-Step Guide
Now that your UPI is set up, let’s walk through how to pay your college admission fees.Finding the College’s UPI Details
This is a critical first step. Always make sure you have the correct payment details:- Official Sources Only: Look for the college’s UPI ID or a QR code on their official website, in their admission brochure, or through direct communication from their admissions office. Never trust details from unofficial sources.
- Confirm with College: If you are unsure, it’s always a good idea to contact the college’s admissions department directly to confirm their official UPI details.
Initiating Your Payment
Once you have the correct details, paying is easy:- Open Your UPI Application: Launch the application you use for UPI payments.
- Select ‘Pay’ or ‘Send Money’: Look for an option that allows you to send money.
- Enter Details: You can either:
- Enter the UPI ID: Type in the college’s unique UPI ID (e.g., college@bankname).
- Scan QR Code: If the college provides a QR code, use the app’s scanner to scan it.
- Enter Amount: Carefully type in the exact admission fee amount.
Double-Checking Payment Details
Before you hit ‘send’, always, always double-check everything. This is extremely important!- Recipient Name: Make sure the name displayed (usually the college’s name) matches exactly.
- Amount: Confirm that the amount you entered is correct. A small mistake here can cause big problems.
Confirming Your Transaction with Your UPI PIN
Once you are absolutely sure all the details are correct:- Proceed to Pay: The app will prompt you to confirm the payment.
- Enter Your UPI PIN: Type in your secret UPI PIN. This is your final authorisation for the payment.
- Transaction Complete: The payment will process, and you’ll usually see a success message.
Saving Your Payment Confirmation
Proof of payment is vital for college admissions:- Screenshot: Immediately take a screenshot of the payment success screen, which usually shows the transaction ID.
- Save Transaction ID: Note down the unique transaction ID. This is your official record.
- Check SMS/Email: Your bank will also send you an SMS or email confirmation. Keep these safe.
What to Do If You Face a Problem
Sometimes, things don’t go perfectly. Here’s what to do if you encounter an issue.If Your Payment Fails
- Check Internet: Ensure you have a stable internet connection.
- Incorrect PIN: You might have entered the wrong PIN. Try again carefully.
- Daily Limits: Your bank might have a daily transaction limit. Check if you’ve exceeded it.
- Try Again: Sometimes, a temporary glitch can cause a failure. Wait a few minutes and try again.
If Money is Deducted but Not Received by the College
This can be worrying, but it often resolves itself:- Wait a Little: Sometimes, there’s a slight delay. The money is usually reversed to your account within 1-3 working days if the transaction didn’t complete successfully at the college’s end.
- Check Bank Statement: Keep an eye on your bank account statement to see if the money is reversed.
- Contact Your Bank: If the money isn’t reversed after a few days, contact your bank’s customer support with your transaction ID.
How to Get Help
If you need further assistance:- Your Bank’s Customer Support: This is your first point of contact for any transaction-related issues. Have your transaction ID ready.
- Application’s Customer Support: If you used a third-party UPI application, their customer support can also help.
- NPCI Website: For general information or to raise a formal complaint if your bank or application can’t resolve the issue, you can visit the official NPCI website.
Important Tips for a Smooth Admission Process
To ensure your college admission payment goes as smoothly as possible, remember these key pieces of advice.Always Verify Details Carefully
We can’t stress this enough: before you confirm any payment, meticulously check the college’s UPI ID, the recipient’s name, and the exact amount. A small error can lead to significant inconvenience.Keep Your UPI PIN Secret
Your UPI PIN is your personal key to your money. Never share it with anyone, not even bank officials or customer service representatives. No legitimate organisation will ever ask for your PIN.Check Deadlines for Fees
Be absolutely aware of the admission fee deadlines. Make your payment well in advance to avoid any last-minute stress or technical issues that could cause you to miss the deadline.Use Official College Sources for UPI Information
To protect yourself from scams, only use UPI IDs or QR codes that are published on the college’s official website or provided through their official communication channels. Be wary of information from unofficial emails, messages, or social media posts. Your diligence here protects your money and your admission.Author
FAQs
What does UPI stand for?
UPI stands for Unified Payments Interface. It's a special system developed by the National Payments Corporation of India (NPCI) that lets you send or receive money directly between bank accounts using just your mobile phone.
How does UPI help with college admission fees?
It's a super convenient, fast, and secure way to pay your college admission fees from anywhere, at any time, using just your smartphone. It also provides easy tracking of your payment.
What do I need to set up UPI on my phone?
You need a smartphone, an active bank account in your name, and a mobile number that is linked to that bank account. You also need a mobile application that supports UPI.
How do I create my UPI PIN?
In your UPI application, find the option to set your PIN. You will need the last six digits of your debit card number and its expiry date, then enter a One-Time Password (OTP) from your bank to create your secret 4-digit or 6-digit PIN.
Where can I find the correct UPI details for my college?
Always look for the college's UPI ID or QR code on their official website, in their admission brochure, or through direct communication from their admissions office. It's best to confirm with the college directly if you are unsure.
What should I check before confirming a UPI payment for college fees?
Before you send the money, always double-check that the recipient's name displayed (which should be the college's name) and the exact payment amount are absolutely correct.
How can I keep proof of my UPI payment?
Immediately take a screenshot of the payment success screen, which usually shows the transaction ID. Also, note down the unique transaction ID and keep any SMS or email confirmations from your bank safe.
What if money is taken from my account but the college hasn't received it?
This can be worrying, but the money is usually returned to your account within 1 to 3 working days if the transaction didn't complete successfully at the college's end. Keep an eye on your bank statement, and if it's not reversed, contact your bank's customer support with your transaction ID.
