

Keeping track of your digital expenses is crucial, and Paytm makes it incredibly easy to view your financial footprint.] Whether you need to verify a payment sent to a merchant, check if a refund has arrived, or download a statement for tax purposes, everything is located in one central hub: “Balance & History”.
Here is the detailed, step-by-step process to find, filter, and download your UPI transaction history on the Paytm app.
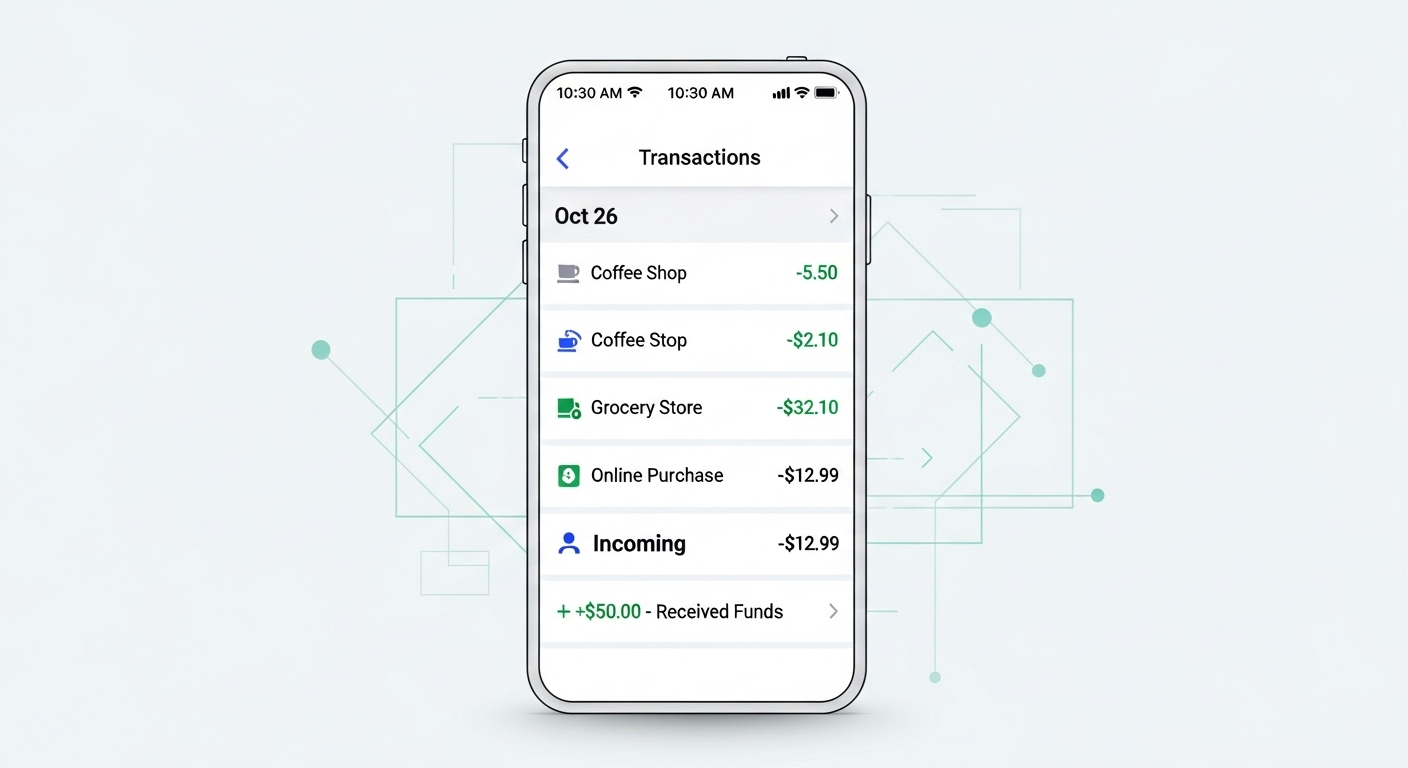
Method 1: The Quick View (Recent Transactions)
This is the fastest way to check your last few payments or received money.
- Open Paytm App: Launch the Paytm application on your smartphone.
- Locate ‘Balance & History’: On the home screen, look for the icon labeled “Balance & History”. It is usually located in the top row of icons or under the “My Paytm” section.
- View History: Once you tap it, scroll down past your bank account balances. You will see a section titled “Payment History”.
- Details: This list shows all recent transactions (UPI, and Postpaid) mixed together. You can see:
- Name: Who you paid or received money from.
- Amount: Debited (black) or Credited (green).
- Status: Successful, Pending, or Failed.
Method 2: How to Download a Detailed UPI Statement
If you need a formal record for tax filing or expense tracking, looking at the screen isn’t enough. You need a downloadable file.
- Go to “Balance & History”.
- Scroll down to the “Payment History” list.
- Look for the “Download Statement” icon (usually a small arrow or document icon) or tap the three dots in the top-right corner.
- Select “Download UPI Statement”.
- Choose Date Range: You can select:
- Last 1 Month
- Last 3 Months
- Last 6 Months
- Previous Financial Year
- Custom Date Range (Select your own Start and End date).
- Select Format: Choose between PDF (best for reading) or Excel (best for calculations).
- Tap “Request Statement”. The file will be generated instantly and can be shared via WhatsApp, Email, or saved to your files.
Method 3: Finding a Specific Transaction (Using Filters)
If you are looking for that one specific payment you made 4 months ago, don’t scroll endlessly. Use filters.
- In the “Payment History” section, tap the Filter icon (funnel shape) usually located next to the search bar.
- Filter by Status: Select “Success”, “Pending”, or “Failed”.
- Filter by Type: Select “Paid” (Money sent) or “Received” (Money in).
- Filter by Instrument: Select specific bank accounts if you have multiple linked.
- Tap Apply. The app will show only the transactions that match your criteria.
